Click here to order replacement blade(s)
To order a kit without a blade please call 301-975-9798

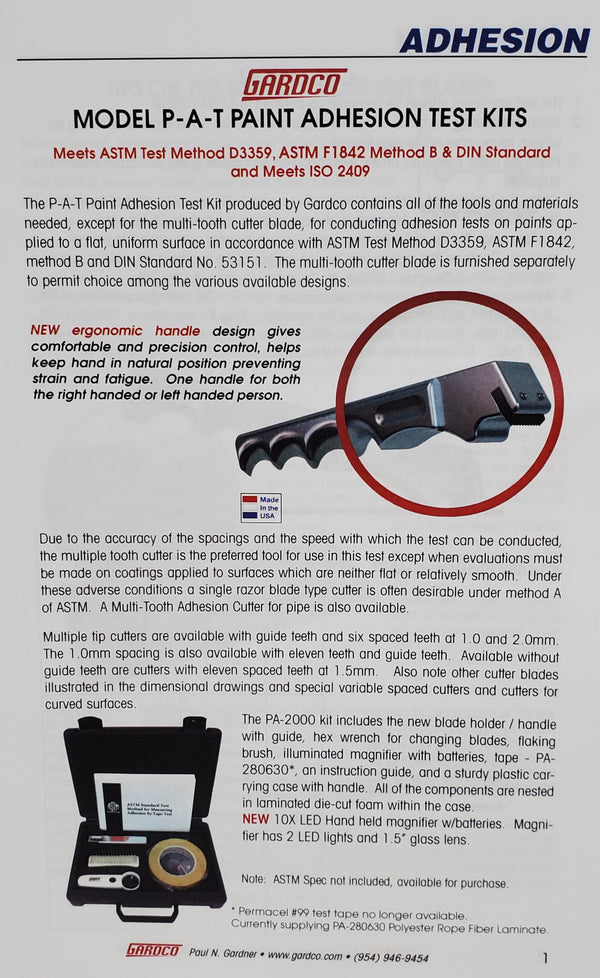
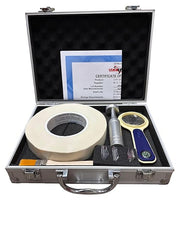
The P-A-T Paint Adhesion Test Kit produced by Gardco contains all of the tools and materials needed, except for the multi-tooth cutter blade, for conducting adhesion tests on paints applied to a flat, uniform surface in accordance with ASTM Test Method D 3359, method B and DIN Standard No. 53151. The multi-tooth cutter blade is furnished separately to permit choice among the various available designs.
Due to the accuracy of the spacings and the speed with which the test can be conducted, the multiple tooth cutter is the preferred tool for use in this test except when evaluations must be made on coatings applied to surfaces which are neither flat or relatively smooth. Under these adverse conditions, a single razor blade type cutter is often desirable under method A of ASTM. A Multi-Tooth Adhesion Cutter for a pipe is also available (please call for details).
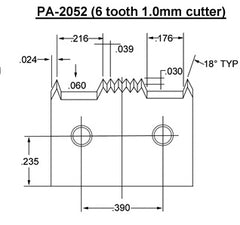
Multiple tip cutters are available with guide teeth and six spaced teeth at 1.0 and 2.0mm. The 1.0mm spacing is also available with eleven teeth and guide teeth. Available without guide teeth are cutters with eleven spaced teeth at 1.5mm. Also, note other cutter blades illustrated in the dimensional drawings.
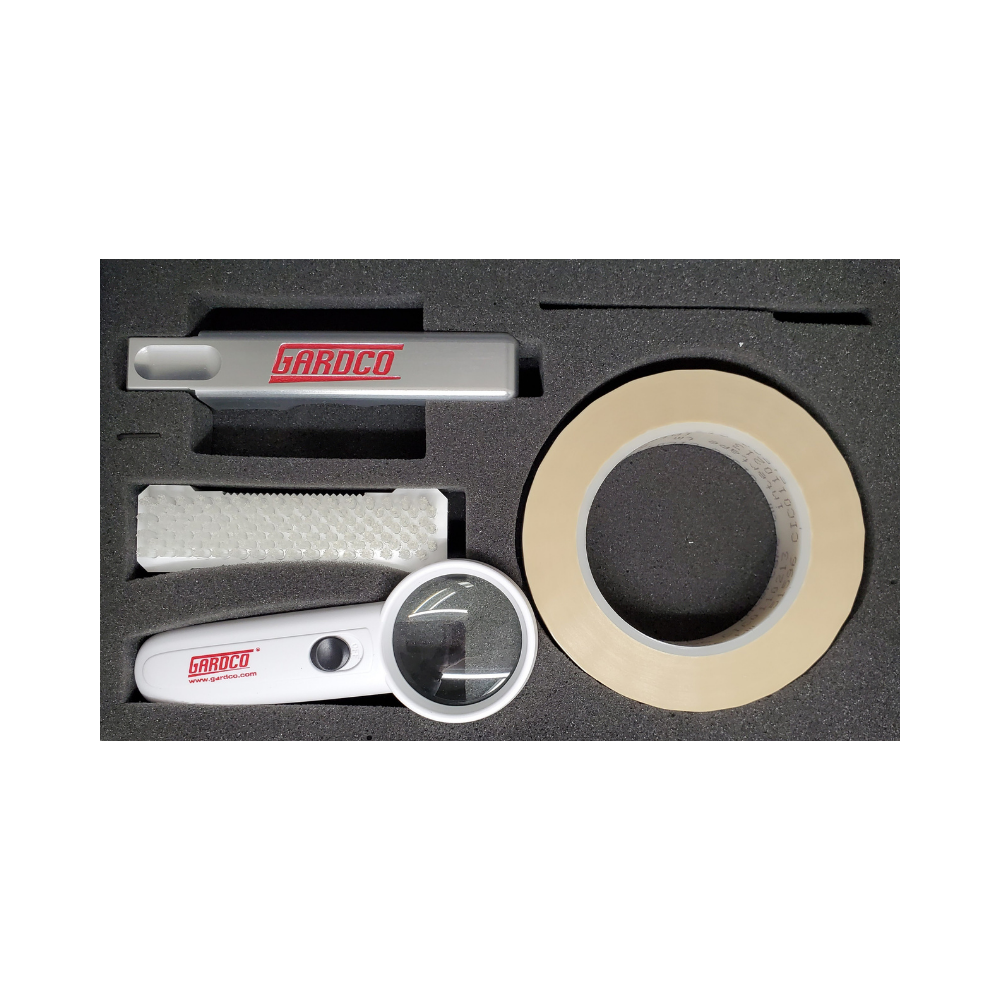
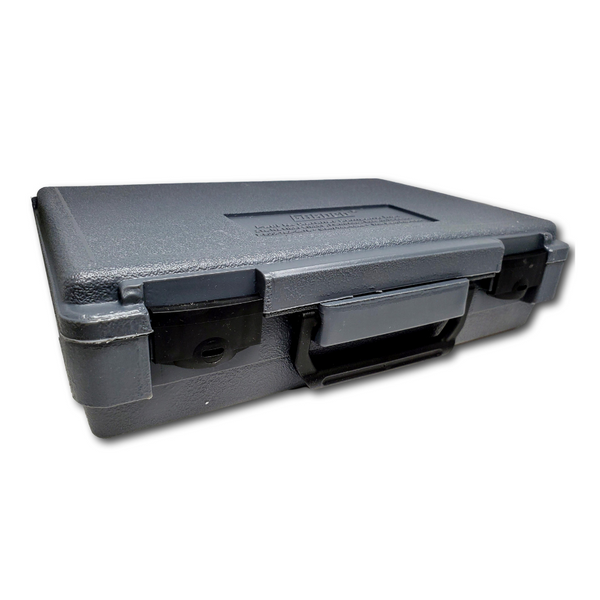
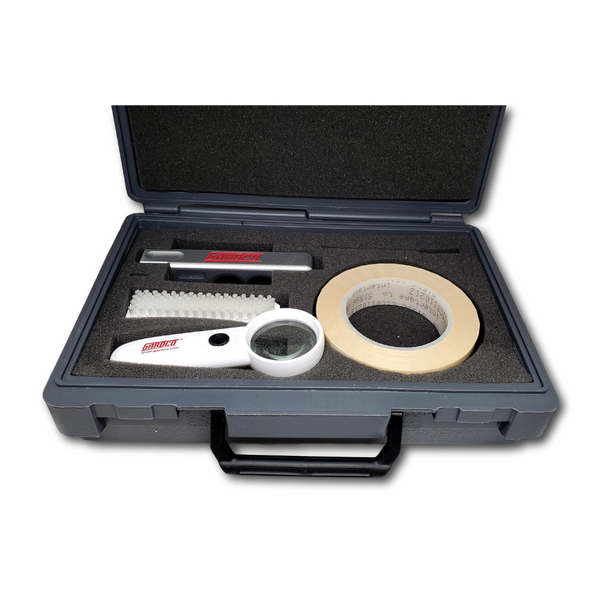
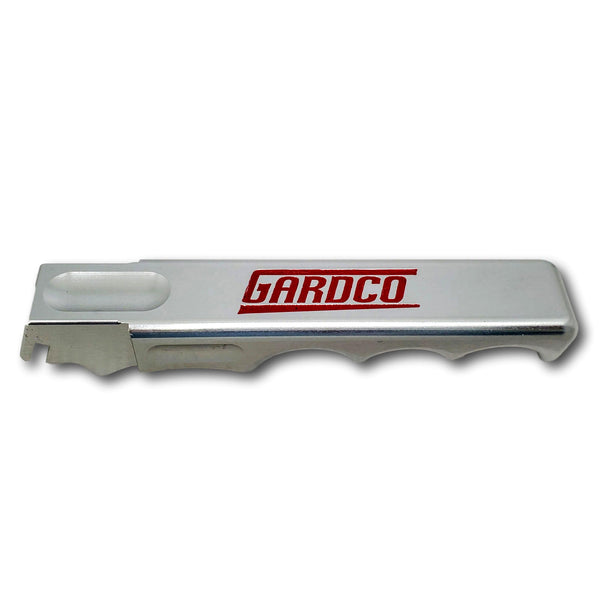
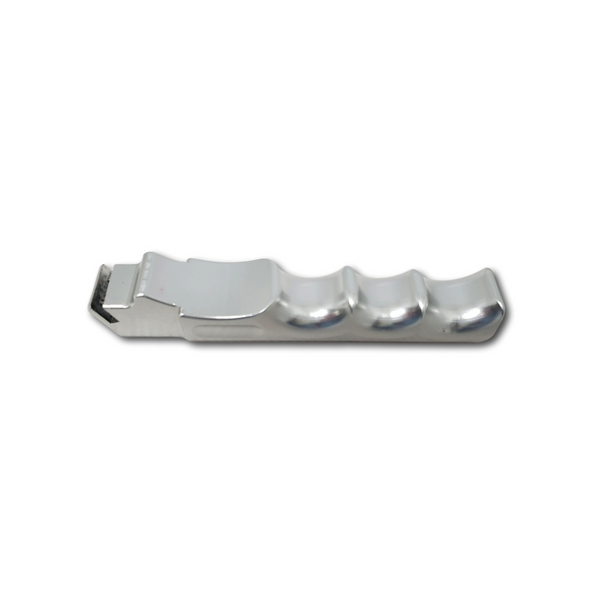
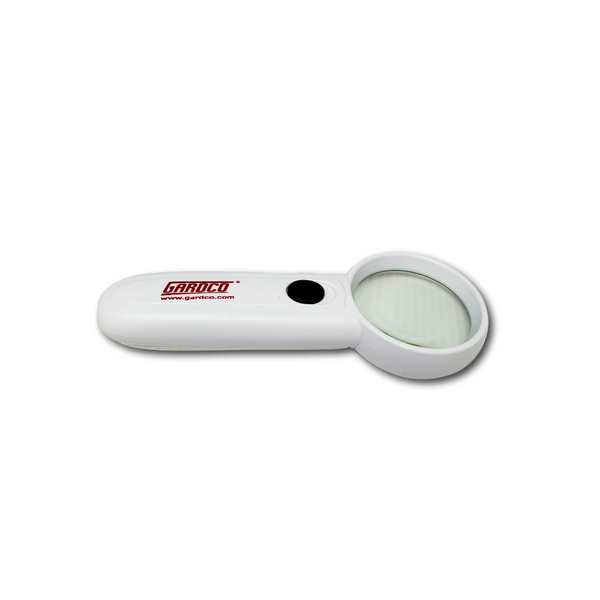
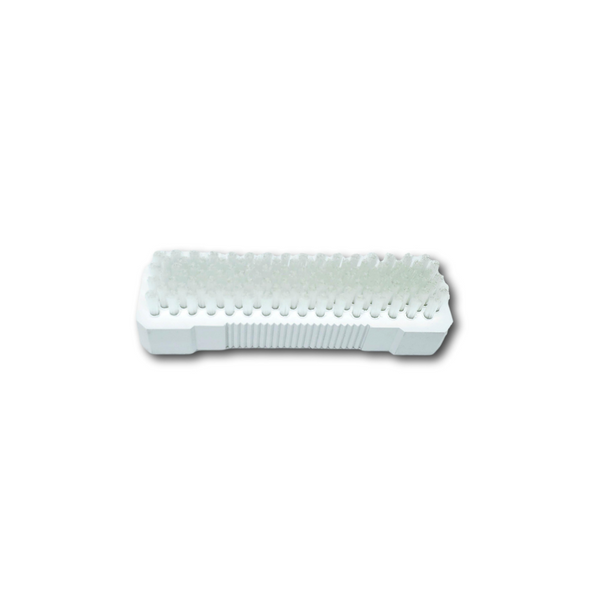
The kit includes the new blade holder/handle, with nylon protector and guide, hex wrench for changing blades, flaking brush, illuminated magnifier with batteries, tape, and a sturdy plastic carrying case with handle. All of the components are nested in laminated die-cut foam within the case.
Operation:


1. The test specimen should be prepared as outlined in ASTM D 3359.
2. When positioning the blade in the handle make sure the holes face the securing set screws taking care not to overtighten.
3. Place the cutter assembly on the test specimen so that it rests on the nylon protector and the rear (narrow end) of the handle.
4. Grasp the handle and rotate it upward with respect to the line of contact of the nylon guide with the test surface. During this motion, the tips of the cutter first contact the test surface when the top of the handle is about seven degrees with respect to the test surface. Continue this motion until the top surface of the handle is elevated to about 15 degrees. This is the correct attitude of the cutter assembly for the test.
5. With enough pressure on the handle to ensure that all of the cutter tips penetrate to the test specimen supporting base, pull the assembly along the test surface through 0.75 to 1.00 inch. Repeat this procedure with a second cut intersecting the first pattern at 90° (±5°). Evaluate the results of the test as indicated in ASTM D 3359, method B.
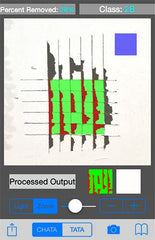
Classification Chart:

Tips on the Use of the Cross Cut Blades:
Before shipment, Gardco blades must pass a cutter blade tooth accuracy inspection check. You can periodically check the accuracy of your cutter blade in the same manner. Use a small piece of polished plate glass. With a match or lighter, smoke a portion of the glass. This will leave an extremely black thin film. With the blade mounted in the handle, pull it across the film. All teeth should make tracks. If all teeth do not touch when used on a coated panel it will indicate that the panel surface is not plane or one or more of the teeth have been damaged.
Some customers using the cross-cut (or cross-hatch) adhesion blades have had a problem getting all the teeth to cut evenly through their coating. From our experience, we have found that uneven cutting is usually due to warped panels. When using the crosscut blades, it is important that the panel being scratched be supported by a flat, rigid table or surface. Additionally, sufficient force must be used for the blades to cut completely through the coating. Often this is a catch-22 situation. If your panel is not supported sufficiently, then more applied pressure simply bends the panel.
Improvements:
The multiple tip cutters for the Paint Adhesion Test Kit are specially designed to provide optimum results. Not only are they produced to very close tolerances but also, as a final step in production they are given a black oxide coating (bluing) to prevent rusting.
Handle mounting holes do not go all the way through the cutter. This prevents the cutter from being improperly secured in the handle. The holes must face the securing set screws.
A further very important improvement to the multiple tip cutter is not immediately apparent. Even with the best possible production tools and procedures, it is very difficult to hold the tolerance on individual tooth length closer than ±0.0005 inches. Even this very small variation is just not good enough for the best results from the test. An additional last step in the production process provides essentially zero tolerance on blade length.
The cutters are first produced to ensure a normal cut. This is then followed by a fine lateral honing which slightly modifies the teeth. There are Several Advantages: The teeth are stronger and less subject to damage. There is a cleaner edge cut where the coating interfaces with the supporting base. Cutter life is increased. The tolerance on tip length is greatly improved permitting lower pressure to be used on the cutter and avoiding gouging of the supporting base with a long tip.
Variable Spaced Multi-Tooth Adhesion Cutter PA-2050:
The most popular multiple tooth adhesion cutters and related items now in use are those designed, manufactured and sold by the Paul N. Gardner Company. These cutters are available with the following tooth spacing which provides a crosshatch of segments.
The variable spaced multiple tooth cutter has 14 teeth providing 13 spaces between the teeth ranging from 0.46 mm to 2.58 mm.
This spacing provides segment areas ranging from 0.21 square mm to 6.66 square mm. At the left below is a sketch of the cutter and at the right is shown a pattern of the crosshatch cuts obtained.


